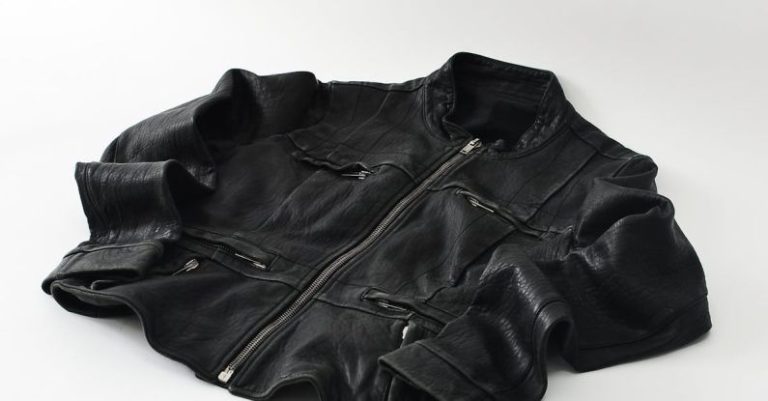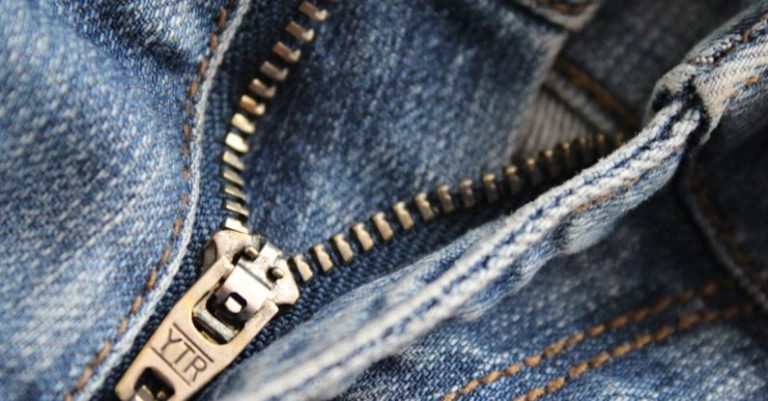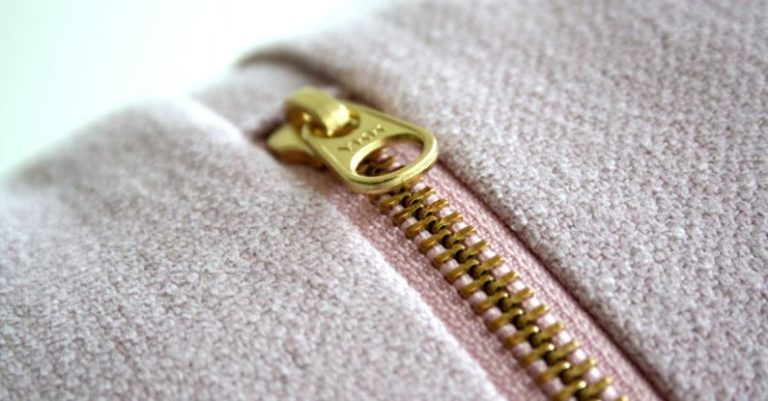
Zipper installation can be a tricky task, especially for those who are new to sewing or crafting. However, with the right tools at your disposal, this process can become much more manageable and even enjoyable. In this article, we will explore some essential tools that can help you with zipper installation, making the task smoother and more efficient.
Sewing Machine with Zipper Foot
One of the most important tools for zipper installation is a sewing machine equipped with a zipper foot. A zipper foot is a specialized presser foot that allows you to stitch close to the zipper teeth without catching them. This foot helps you achieve neat and precise stitching when attaching zippers to garments, bags, or other projects. Most sewing machines come with a zipper foot as a standard accessory, but you can also purchase one separately if needed.
Fabric Marker or Chalk
Before installing a zipper, it is crucial to mark the placement of the zipper on your fabric accurately. A fabric marker or chalk can help you make precise markings that guide you during the installation process. These tools are easy to use and can be easily removed once you have finished sewing the zipper in place.
Seam Ripper
Mistakes happen, even to the most experienced sewists. A seam ripper is a handy tool for undoing stitches and removing a zipper if you need to start over. It allows you to carefully cut and remove stitches without damaging the fabric, giving you the chance to correct any errors in your zipper installation.
Iron and Ironing Board
Pressing your seams and zippers is essential for achieving professional-looking results. An iron and ironing board help you flatten seams, reduce bulk, and create crisp edges, ensuring that your zipper installation looks clean and polished. Be sure to press your fabric before and after installing the zipper to achieve the best results.
Pins or Clips
Pins or clips are essential for holding your fabric layers together while sewing in the zipper. They help prevent shifting and ensure that your fabric stays in place during the installation process. Pins are ideal for thicker fabrics, while clips are a great alternative for delicate or lightweight materials that could be damaged by pins.
Zipper Gauge
A zipper gauge is a handy tool that helps you align and position your zipper accurately on your fabric. This tool allows you to set the width of your zipper teeth and ensures that your zipper is installed straight and even along the seam line. A zipper gauge can be a game-changer for achieving professional-looking results in your zipper installations.
Thread Snips or Scissors
Having a pair of thread snips or scissors on hand is essential for trimming thread tails and excess fabric after sewing in the zipper. These tools allow you to neatly clip threads and remove any stray fibers, giving your zipper installation a clean and finished appearance.
Practice Makes Perfect
Like any sewing skill, mastering zipper installation takes practice. Don’t be discouraged if your first few attempts are not perfect. With time and experience, you will become more confident in installing zippers and achieve professional results in your sewing projects.
In conclusion, having the right tools at your disposal can make zipper installation easier and more efficient. By using tools such as a sewing machine with a zipper foot, fabric marker, seam ripper, iron, pins or clips, zipper gauge, and thread snips or scissors, you can tackle zipper installations with confidence and precision. Remember to practice and be patient with yourself as you hone your zipper installation skills. Happy sewing!