Sewing zippers can be a daunting task for many, but mastering the technique can elevate your sewing projects to a professional level. One common method for attaching zippers to garments is the lapped zipper technique. This method creates a neat, concealed finish that adds a polished look to your sewing projects. In this article, we will delve into the steps to sew a lapped zipper, guiding you through the process with clear and concise instructions.
Selecting the Right Zipper and Fabric
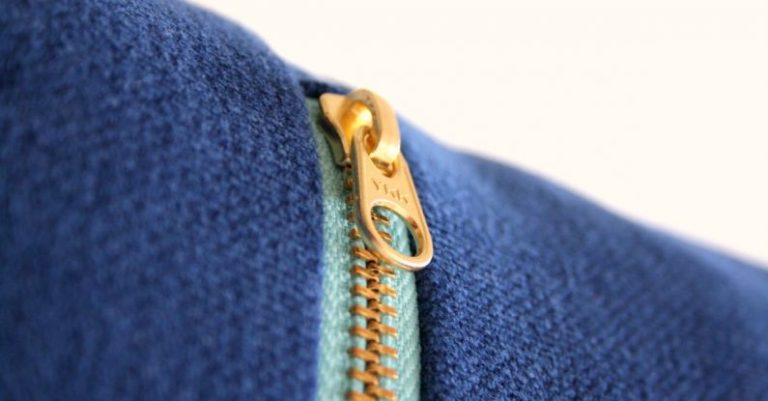
Before you begin sewing a lapped zipper, it is essential to choose the right zipper for your project. Opt for a zipper that is longer than the opening you need to secure. This will allow you to work with ease and trim the excess zipper later. Additionally, consider the color of the zipper to ensure it complements your fabric seamlessly.
When it comes to selecting fabric for your project, choose a medium-weight fabric that is stable and easy to work with. Avoid fabrics that are too thick or flimsy, as they may make sewing the zipper more challenging. It is also advisable to interface the seam allowance where the zipper will be attached to provide additional stability.
Preparing the Fabric
To prepare the fabric for sewing the lapped zipper, finish the raw edges of the fabric pieces where the zipper will be attached. You can use a serger or a zigzag stitch on your sewing machine to prevent fraying. Press the seam allowance open to create a clean edge for sewing the zipper.
Marking the Zipper Placement
Before sewing the zipper, mark the placement on the fabric where the zipper will be inserted. Use fabric chalk or a dissolvable fabric marker to make precise markings on both sides of the fabric. These markings will serve as a guide when attaching the zipper to ensure a straight and even finish.
Attaching the Zipper
To sew a lapped zipper, start by placing the zipper face down on one side of the fabric, aligning the zipper teeth with the marked placement. Pin the zipper in place, ensuring it is straight and centered along the seam allowance. Using a zipper foot on your sewing machine, stitch close to the zipper teeth, securing it to the fabric.
Next, fold the other side of the fabric over the zipper, creating a lap that covers the zipper teeth. Press the fabric flat to create a crisp edge. With the fabric folded over the zipper, stitch close to the edge of the fold to secure it in place. This second row of stitching will conceal the zipper tape and create a clean finish on the right side of the fabric.
Trimming Excess Zipper
Once the zipper is securely attached, trim any excess zipper tape beyond the fabric edges. Be careful not to cut too close to the stitching to avoid unraveling the zipper. Trim the fabric seam allowance if needed to ensure a tidy finish.
Pressing and Finishing
Finally, press the fabric around the zipper to set the stitches and create a smooth finish. Use a pressing cloth to protect the fabric from heat damage. Your lapped zipper is now complete, adding a professional touch to your sewing project.
Incorporating a lapped zipper into your sewing projects may seem intimidating at first, but with practice and attention to detail, you can master this technique. By following these steps and honing your sewing skills, you can achieve clean and polished finishes on garments and accessories. Experiment with different fabrics and zipper colors to create custom pieces that showcase your sewing prowess. So, grab your fabric, zipper, and sewing machine, and start sewing lapped zippers like a pro!