Have you ever found the perfect garment, only to realize that the zipper is just a tad too long? Whether it’s a jacket, a pair of pants, or a dress, dealing with an overly long zipper can be frustrating. But fear not, shortening a zipper to fit your garment is a simple DIY task that can save you time and money. In this article, we will guide you through the process of shortening a zipper so you can tailor your clothing to perfection.
Understanding Zipper Anatomy
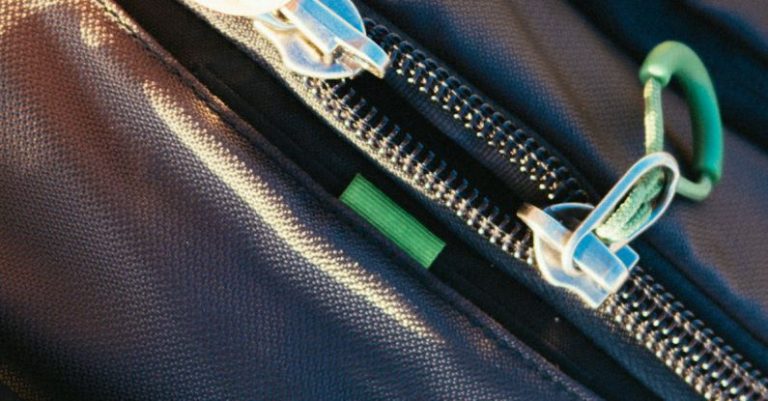
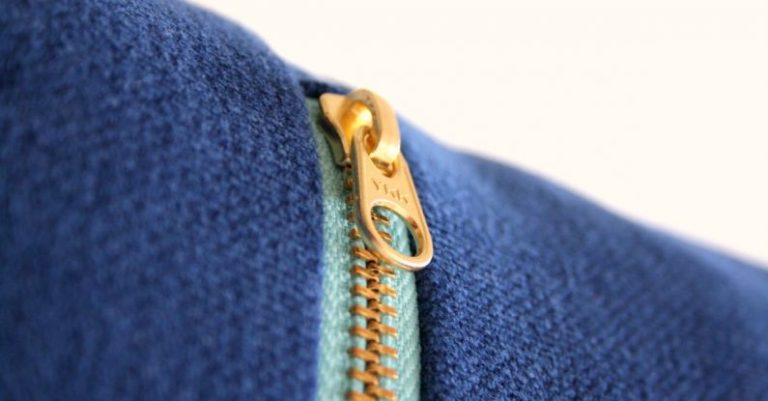
Before we delve into the steps of shortening a zipper, it’s essential to understand the basic anatomy of a zipper. A typical zipper consists of two tape ends and a slider that connects them. The teeth or coils are what interlock to close the zipper. When shortening a zipper, you will need to remove excess tape from one end while keeping the slider intact.
Tools You Will Need
To successfully shorten a zipper, you will need a few basic tools:
– Seam ripper or small scissors
– Needle and thread that matches the color of the zipper
– Pins
– Measuring tape or ruler
Getting Started
The first step in shortening a zipper is determining the desired length. Measure the length needed for your garment and mark it on the zipper tape. Remember to leave a little extra length at the end to ensure that the slider does not come off when in use.
Removing Excess Tape
Using a seam ripper or small scissors, carefully remove the excess tape from the end of the zipper that does not have the slider. Make sure to cut as straight as possible to maintain a neat finish. Be cautious not to cut the teeth or coils of the zipper while trimming the tape.
Securing the End
Once you have trimmed the excess tape, fold the raw edge to the inside and secure it with pins. This will prevent the zipper from unraveling and give it a clean finish. Use a needle and thread to stitch the folded edge in place securely. Make sure to sew close to the teeth or coils to maintain a smooth appearance.
Reattaching the Slider
After securing the end of the zipper, it’s time to reattach the slider. Carefully slide the slider onto the teeth or coils from the top, ensuring that it aligns correctly. Gently move the slider up and down to test if it functions smoothly without catching on the newly trimmed end.
Testing the Zipper
Once you have reattached the slider, test the zipper to ensure that it opens and closes smoothly. Check for any snags or misalignments that may need adjusting. If everything functions correctly, congratulations – you have successfully shortened your zipper to fit your garment!
Alternative Methods
If you are hesitant to trim the zipper tape, another method involves sewing a new zipper stop at the desired length. A zipper stop is a small metal or plastic piece that prevents the slider from coming off the end of the zipper. Simply sew the stop in place at the desired length to create a new endpoint for the zipper.
In Conclusion…
Shortening a zipper may seem like a daunting task, but with the right tools and a bit of patience, it can be easily accomplished. By following these simple steps, you can tailor your clothing to fit perfectly and save yourself the hassle of dealing with a zipper that is too long. So next time you come across a garment with an ill-fitting zipper, fear not – you now have the skills to shorten it to perfection. Happy altering!