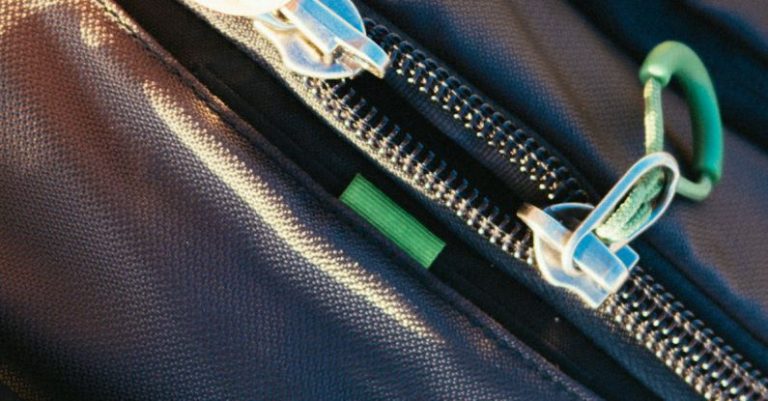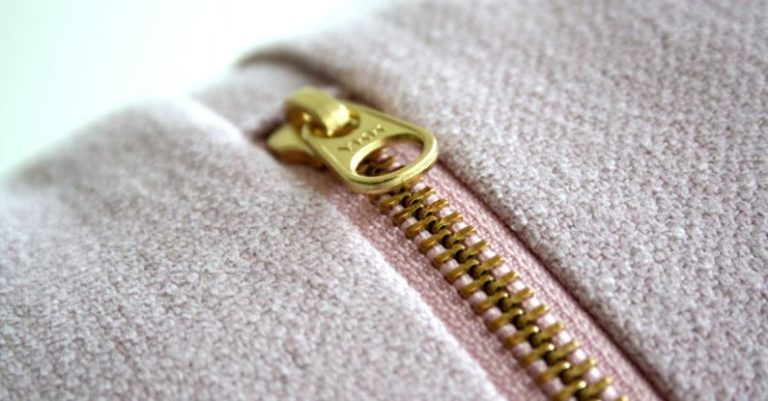
Sewing a separating zipper into a garment can seem like a daunting task for beginners, but with the right guidance and techniques, it can be a rewarding and satisfying experience. Separating zippers are commonly used in jackets, hoodies, and other pieces of clothing where the zipper needs to be opened from both ends. In this article, we will explore the step-by-step process of sewing a separating zipper into your garment, ensuring a professional and polished finish.
Choosing the Right Zipper and Fabric
Before you start sewing, it’s essential to select the right separating zipper for your project. Make sure the zipper is the correct length for your garment and matches the color of the fabric. Additionally, choose a zipper made of durable material that can withstand frequent use.
Next, prepare your fabric by pressing it to remove any wrinkles or creases. Lay your fabric flat on a clean, smooth surface, ensuring it is free of any debris that could interfere with the sewing process.
Marking and Pinning
To ensure accurate placement of the zipper, mark the center front of your garment using fabric chalk or a washable fabric marker. This will serve as a guideline for attaching the zipper evenly on both sides.
Place the zipper face down on the right side of the fabric, aligning the teeth with the center front marking. Use sewing pins to secure the zipper in place, ensuring it lies flat against the fabric without any wrinkles or puckering.
Sewing the Zipper
Using a zipper foot attachment on your sewing machine, start sewing the zipper tape to the fabric along one side. Sew as close to the teeth as possible, ensuring a neat and secure attachment. Backstitch at the beginning and end of the zipper to reinforce the seams.
Repeat the sewing process on the other side of the zipper, making sure to maintain an even distance from the teeth for a professional finish. Take your time and sew slowly to ensure accuracy and precision in attaching the zipper.
Finishing Touches
Once the zipper is securely attached to the fabric, it’s time to finish the ends to prevent fraying and ensure a clean look. Trim any excess zipper tape beyond the seam allowance and fold the raw edges under to create a clean finish.
To secure the ends of the zipper, sew a few backstitches across the tape to prevent it from unraveling. Trim any loose threads and press the seams with an iron to create a crisp and polished appearance.
Test the Zipper
Before completing your garment, it’s essential to test the zipper to ensure it functions smoothly and opens and closes without any snags. Gently zip and unzip the zipper several times to check for any issues and make any necessary adjustments.
Conclusion: Achieving a Professional Finish
Sewing a separating zipper into your garment may seem challenging at first, but with practice and patience, you can master this skill and achieve a professional finish. By following these step-by-step instructions and paying attention to detail, you can create beautifully tailored garments with seamless zipper closures. With practice, you’ll gain confidence in your sewing abilities and be able to tackle more complex projects with ease.