Adding a zipper to your sewing project can sometimes seem like a daunting task, especially if you are new to sewing. However, sewing a fly zipper does not have to be complicated or time-consuming. With the right tools and techniques, you can easily sew a fly zipper like a pro in no time. In this article, we will explore the easiest way to sew a fly zipper, breaking down the process into simple steps that anyone can follow.
Choosing the Right Zipper
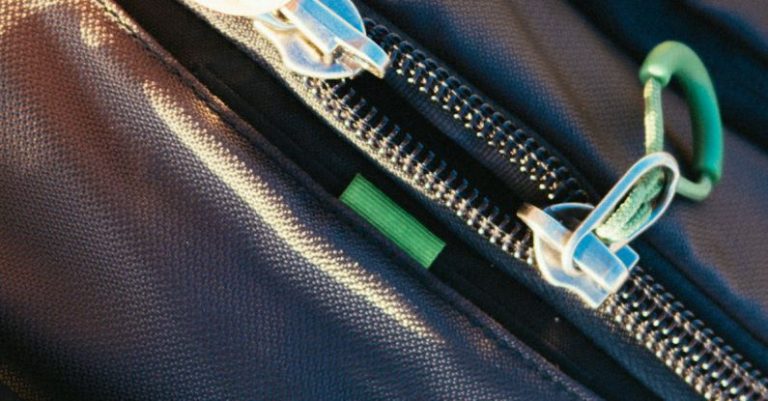
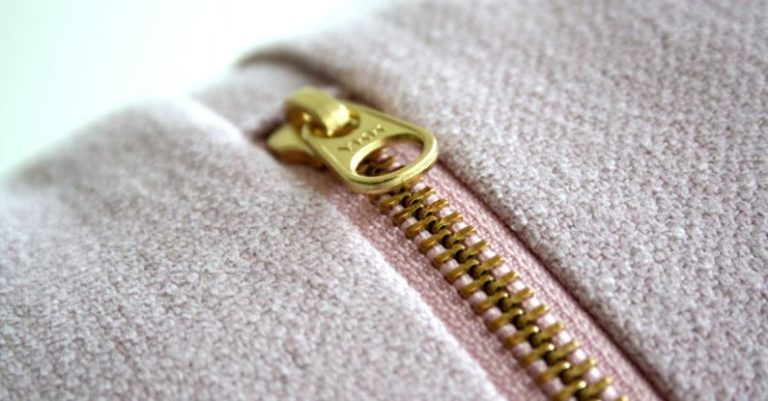
The first step in sewing a fly zipper is selecting the right zipper for your project. When choosing a zipper, opt for a metal or plastic zipper that is specifically designed for fly closures. Make sure the zipper is at least as long as the opening you will be sewing it into. This will ensure that the zipper extends past the top and bottom of the opening, making it easier to sew in place.
Preparing the Fabric
Before sewing the zipper, it is important to prepare the fabric by interfacing the seam allowance where the zipper will be inserted. This will help reinforce the fabric and prevent it from stretching or distorting during the sewing process. Additionally, mark the placement of the zipper on the fabric using tailor’s chalk or fabric marker to ensure accurate positioning.
Sewing the Zipper
To sew the fly zipper, start by pinning the zipper in place along the marked placement on the fabric. Make sure the zipper teeth are facing the right side of the fabric and align with the edge of the opening. Using a zipper foot on your sewing machine, stitch along the edge of the zipper tape, securing it to the fabric. Repeat this process on the other side of the zipper, making sure to keep the zipper teeth parallel to each other.
Creating the Fly Shield
Once the zipper is securely attached to the fabric, it is time to create the fly shield. To do this, cut a piece of fabric that is slightly wider than the zipper tape and long enough to cover the zipper when closed. Fold the fabric in half lengthwise with the right sides facing out and press the fold to create a crease. Then, stitch the folded edge of the fabric to the fabric next to the zipper, creating a shield that covers the zipper when closed.
Finishing Touches
To complete the fly zipper, topstitch along the edges of the zipper tape and fly shield to secure them in place and give the zipper a polished finish. Trim any excess fabric and threads, and press the zipper and fabric to remove any wrinkles or creases. Your fly zipper is now complete and ready to be incorporated into your sewing project.
In summary, sewing a fly zipper does not have to be a complicated or intimidating task. By following these simple steps and techniques, you can easily sew a fly zipper like a pro. Remember to choose the right zipper, prepare the fabric, sew the zipper in place, create the fly shield, and finish with topstitching. With a bit of practice and patience, you will master the art of sewing a fly zipper in no time.