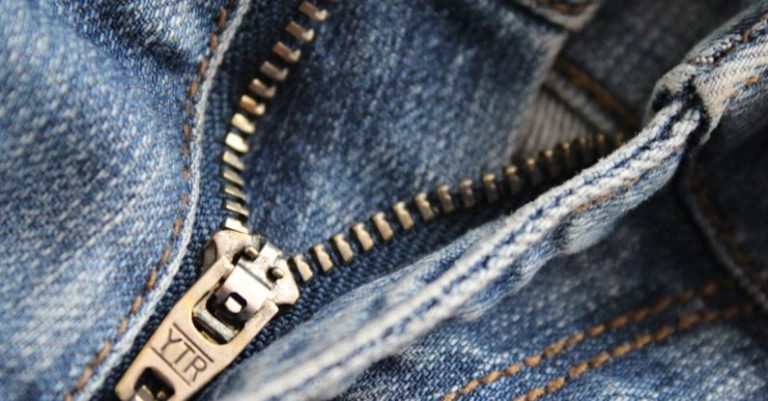
Adding a zipper to a garment can be a daunting task for many sewing enthusiasts. However, with the right techniques and a bit of practice, sewing a zipper can become a seamless part of your sewing repertoire. In this guide, we will take you through the step-by-step process of sewing a zipper into a garment, ensuring that your finished piece looks polished and professional.
Choosing the Right Zipper
Before you start sewing a zipper into your garment, it is essential to choose the right type and length of zipper for your project. Zippers come in various types, such as invisible, standard, and separating zippers, each serving a different purpose. Make sure to select a zipper that matches the style and function of your garment. Additionally, ensure that the zipper length is appropriate for the opening you are sewing it into.
Preparing the Garment
To begin sewing the zipper, you must first prepare the garment. If you are adding a zipper to a garment that is already constructed, make sure to mark the placement of the zipper on the fabric using fabric chalk or pins. If you are sewing a zipper into a garment that has yet to be assembled, it is best to do so before sewing the garment’s seams together.
Sewing the Zipper
When sewing a zipper into a garment, you have two options: using a sewing machine or sewing it by hand. If you are using a sewing machine, start by attaching a zipper foot to your machine. This specialized foot will help you sew close to the zipper teeth without accidentally catching them.
Begin by placing the zipper face down on the fabric, aligning the zipper tape with the fabric edge. Pin the zipper in place to secure it. Using a straight stitch, sew along the edge of the zipper tape, making sure to backstitch at the beginning and end to secure the stitches.
If you prefer to sew the zipper by hand, use a hand-sewing needle and thread to attach the zipper to the fabric. Start by anchoring the thread at one end of the zipper tape and sew small, even stitches along the edge of the tape. Make sure to sew through both the zipper tape and the fabric to secure the zipper in place.
Finishing Touches
Once the zipper is attached to the garment, it is essential to finish the edges for a clean and professional look. If you are sewing a zipper into a garment with raw edges, consider finishing the edges with a serger or zigzag stitch to prevent fraying. Alternatively, you can use bias tape or facing to encase the raw edges for a neat finish.
If you are sewing a zipper into a lined garment, make sure to attach the lining to the zipper tape for a clean inside finish. You can hand-sew the lining in place using a slip stitch or attach it by machine for a quicker finish.
Troubleshooting
Sewing a zipper into a garment may not always go as smoothly as planned. If you encounter any issues, such as puckering, uneven stitching, or a zipper that won’t zip smoothly, do not fret. Take a step back, assess the problem, and make any necessary adjustments. Remember that practice makes perfect, and with time and experience, sewing zippers will become second nature.
Incorporating Zippers with Confidence
Now that you have mastered the art of sewing zippers into garments, you can add this essential skill to your sewing repertoire with confidence. Whether you are working on a dress, skirt, or jacket, sewing zippers will no longer be a daunting task but a seamless part of your sewing projects. With the right techniques and a bit of practice, you can create polished and professional-looking garments that are sure to impress.


