Achieving perfectly sewn hems can elevate the overall look of your garments and projects. Whether you are a seasoned seamstress or just starting out, hand sewing hems requires precision and attention to detail. To help you master this essential sewing skill, we have compiled the best tips that will take your hand sewing to the next level.
Understanding the Importance of Proper Hemming Techniques
Before delving into the specific tips for hand sewing hems, it is crucial to understand the significance of proper hemming techniques. Hems not only provide a polished finish to your sewing projects but also contribute to the overall durability and longevity of the garment. By mastering the art of hand sewing hems, you can ensure that your creations have a professional and refined look.
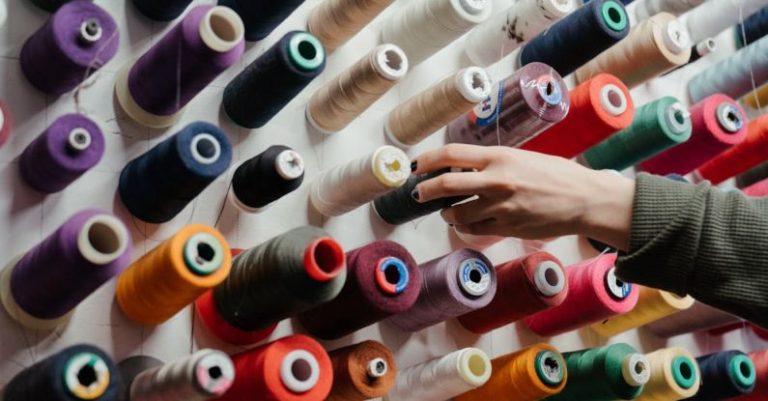
Choosing the Right Needle and Thread
The first step in achieving well-sewn hems is selecting the appropriate needle and thread for the job. When hand sewing hems, opt for a fine needle that glides smoothly through the fabric without leaving large holes. A sharp needle will make it easier to create neat and even stitches along the hemline. Additionally, choose a thread that matches the fabric color to ensure that the stitches blend seamlessly with the fabric.
Preparing the Fabric for Hemming
Before you begin hand sewing the hem, it is essential to prepare the fabric properly. Pressing the hem allowance with an iron will create crisp and defined folds, making it easier to sew along the edge. Use a pressing cloth to protect delicate fabrics from heat damage and ensure that the hem stays in place while stitching. Taking the time to press the hem allowance will result in a professional-looking finish.
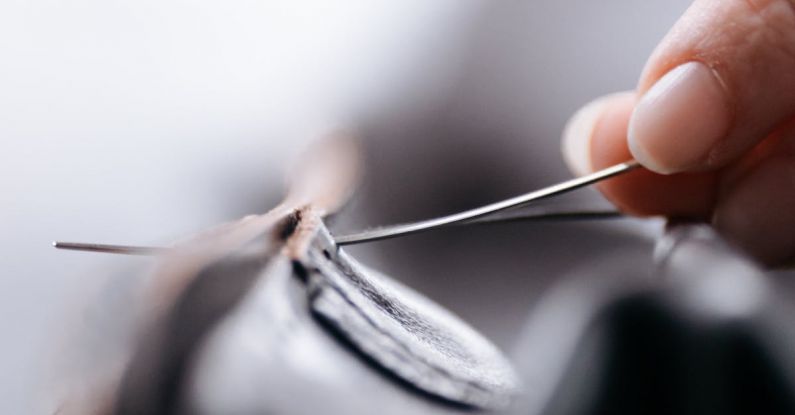
Securing the Thread and Starting the Hem
To ensure that your hand-sewn hems stay in place, it is essential to secure the thread before starting the stitching. Knot the end of the thread or use a backstitch to anchor the thread in place securely. Begin stitching the hem from the wrong side of the fabric to hide the knots and secure the starting point. By starting the hem correctly, you can prevent unraveling and ensure that the stitches are even and secure.
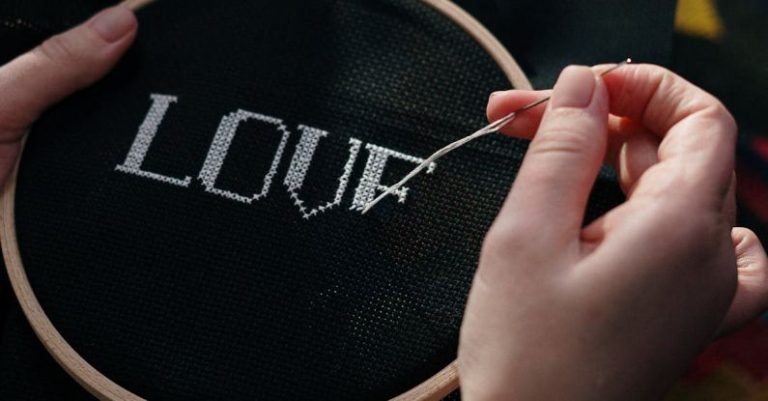
Creating Even Stitches Along the Hemline
Achieving even stitches along the hemline is key to a well-sewn hem. Take care to make small, consistent stitches that are evenly spaced to create a neat and professional finish. Avoid pulling the thread too tightly, as this can cause puckering or distortion along the hem edge. By maintaining a steady rhythm and tension while sewing, you can achieve a smooth and uniform hemline.
Finishing the Hem with Invisible Stitches
To give your hand-sewn hems a seamless and polished look, consider using invisible stitches to finish the hem. Invisible stitches, also known as slip stitches or blind stitches, are virtually undetectable from the right side of the fabric, creating a clean and professional finish. Take care to catch only a few threads from the fabric with each stitch to ensure that the stitches remain hidden.
Pressing the Finished Hem
Once you have completed sewing the hem, the final step is to press it to set the stitches and create a crisp finish. Use a steam iron on the appropriate setting for the fabric to smooth out any wrinkles and ensure that the hem lies flat. Pressing the finished hem will give your sewing project a polished and professional appearance.
Embracing the Art of Hand Sewing Hems
Mastering the art of hand sewing hems requires practice, patience, and attention to detail. By following these tips and techniques, you can elevate your sewing skills and create beautifully finished garments and projects. Remember to choose the right needle and thread, prepare the fabric properly, create even stitches, and finish the hem with invisible stitches for a professional-looking result. With dedication and practice, you can become proficient in hand sewing hems and take your sewing projects to the next level.