Sewing patches onto fabric is a great way to personalize and customize your clothing or accessories. Whether you’re adding a patch to cover a hole or simply for aesthetic purposes, hand sewing a patch onto fabric can be a fun and rewarding task. With just a few simple tools and some basic sewing skills, you can easily attach a patch to any garment or fabric item. In this article, we’ll walk you through the steps of hand sewing a patch onto fabric.
Choosing the Right Patch and Fabric
Before you begin sewing, it’s important to choose the right patch and fabric for your project. Make sure the patch is clean and free of any loose threads or frayed edges. The fabric you’ll be attaching the patch to should also be clean and free of any wrinkles or creases. It’s a good idea to pre-wash and iron the fabric before sewing to ensure a smooth and even surface for the patch.
Gathering Your Materials
To hand sew a patch onto fabric, you’ll need a few basic supplies:
– Patch
– Fabric
– Sewing needle
– Thread that matches the color of the patch
– Scissors
– Pins (optional)
– Thimble (optional)
Preparing the Patch and Fabric
Start by placing the patch on the fabric in the desired position. Use pins to secure the patch in place if needed. Thread the needle with a piece of thread that matches the color of the patch. Knot the end of the thread to secure it in place. If you find it difficult to push the needle through the fabric, you may want to use a thimble to protect your fingers.
Sewing the Patch onto Fabric
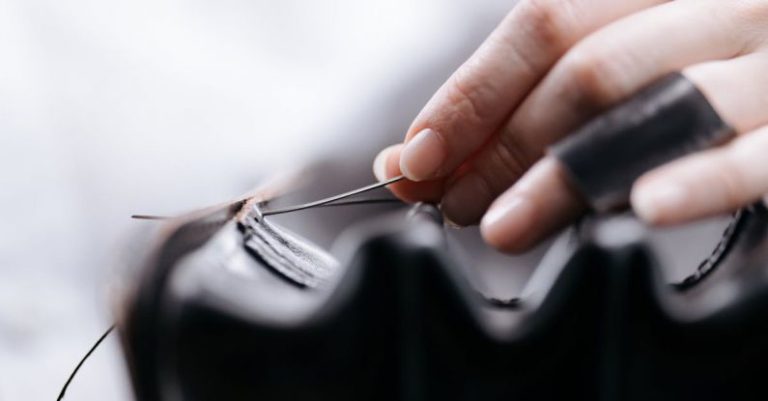
To begin sewing the patch onto the fabric, insert the needle from the backside of the fabric through both the patch and the fabric. Pull the thread all the way through until the knot catches on the backside of the fabric. Make a small stitch on the patch, then insert the needle back through the fabric and patch, creating a loop. Pull the thread tight to secure the stitch.
Continue sewing around the edge of the patch, making small, even stitches to attach it securely to the fabric. Be sure to keep the stitches close together to prevent the patch from coming loose. If you’re working with a patch that has intricate details or shapes, take your time to ensure that you’re accurately following the edges of the patch.
Finishing Touches
Once you’ve sewn all the way around the patch, make a knot on the backside of the fabric to secure the thread. Trim any excess thread with scissors. If you’re attaching multiple patches to the fabric, repeat the process for each patch, making sure to space them evenly and securely sewn.
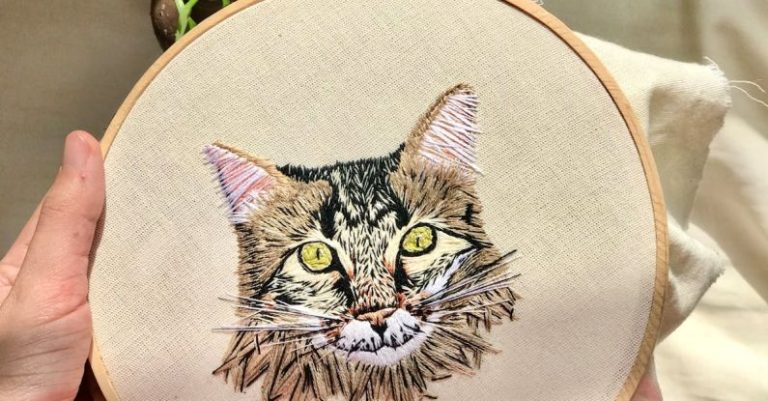
Embellishing Your Patch
If you want to add some extra flair to your patch, consider using different colored threads or embroidery floss to create decorative stitches around the edges. You can also add beads, sequins, or other embellishments to make your patch stand out even more.
Incorporating Patches into Your Style
Now that you’ve mastered the art of hand sewing patches onto fabric, you can get creative with how you incorporate them into your style. Patches can be added to jackets, jeans, bags, hats, or any other fabric item you want to personalize. Mix and match different patches to create a unique look that showcases your personality and interests.
Personalize Your Wardrobe with Hand-Sewn Patches
Hand sewing patches onto fabric is a simple and fun way to add a personal touch to your clothing and accessories. With just a few basic supplies and some patience, you can easily attach patches to any fabric item. Get creative with your patch placement and embellishments to make your garments truly one-of-a-kind. So, grab your patches and start sewing to customize your wardrobe today!