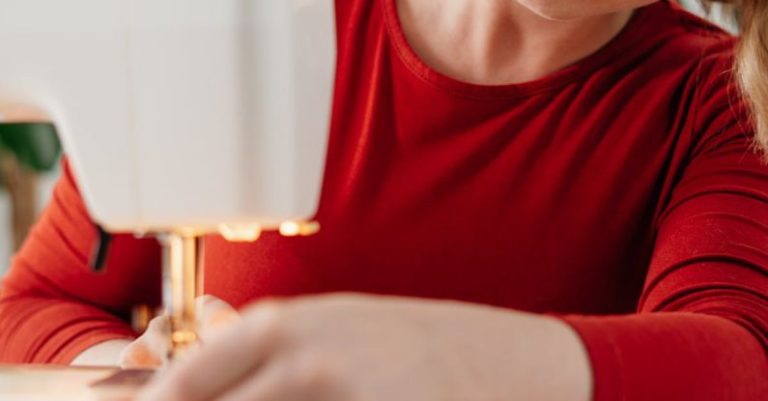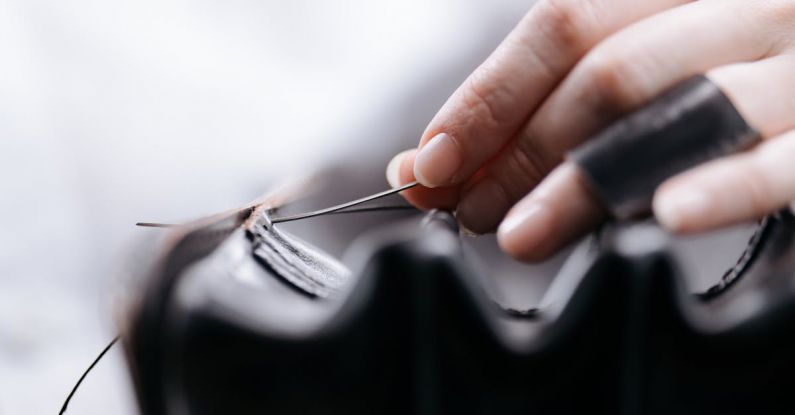
Sewing a button by hand may seem like a basic skill, but it is an essential one that can save you time and money. Whether a button has fallen off your favorite shirt or you want to add a decorative touch to your clothing, knowing how to sew a button by hand is a handy skill to have. In this guide, we will walk you through the simple steps to sew a button securely and neatly.
**Gather Your Materials**
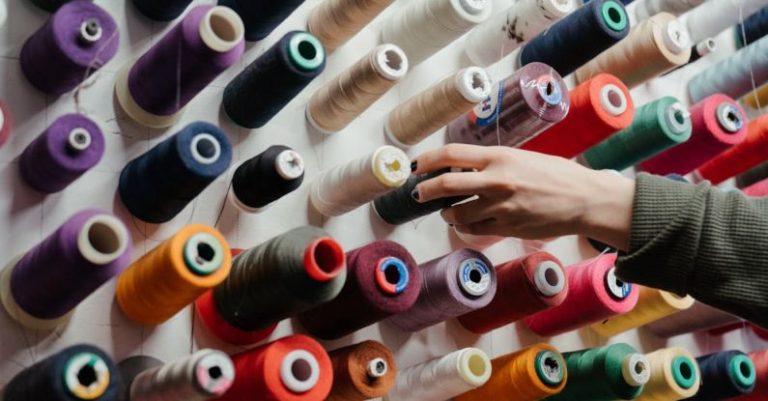
Before you start sewing, make sure you have all the necessary materials at hand. You will need a needle, thread (ideally matching the color of the fabric), the button you want to sew, and a pair of scissors. It’s also helpful to have a thimble to protect your fingers while sewing.
**Thread the Needle**
Start by cutting a piece of thread that is about 18 inches long. Thread one end of the thread through the eye of the needle and pull it through until both ends of the thread are even. Tie a knot at the end of the thread to secure it in place.
**Positioning the Button**
Decide where you want to attach the button on the fabric. Place the button on the fabric in the desired position and mark the four points where you will sew the button. This will ensure that the button is centered and aligned correctly.
**Securing the Thread**
To start sewing the button, bring the needle up from the back of the fabric to the front at one of the marked points. Hold the end of the thread securely at the back to prevent it from pulling through. Pass the needle through one of the holes on the button, then bring it back down through the fabric at the opposite marked point.
**Creating Shank (Optional)**
If you are sewing a button on thick fabric or want to leave some space between the button and the fabric, you can create a shank. To do this, after passing the needle through the button, but before pulling it tight, place a toothpick or a matchstick on top of the button. This will create a small loop of thread between the button and the fabric, giving the button some space to move when buttoned.
**Securing the Button**
Repeat the process of passing the needle through the button and the fabric several times until the button feels secure. Make sure to keep the tension on the thread consistent to create neat and even stitches. Once you are satisfied with the button’s security, bring the needle to the back of the fabric and tie a knot to secure the thread. Trim any excess thread with scissors.
**Final Touches**
Before finishing, double-check that the button is securely attached and sits flat on the fabric. If needed, you can reinforce the button by sewing through it in a cross pattern for added strength. Additionally, you can secure the thread at the back of the fabric by running it through nearby stitches to hide it.
**In Summary**
Sewing a button by hand is a simple yet valuable skill that can come in handy in various situations. With just a few basic materials and some practice, you can easily attach or replace buttons on your clothing. By following these steps and paying attention to detail, you can ensure that your buttons are securely attached and add a personalized touch to your garments. So, next time a button pops off, don’t fret – grab a needle and thread, and sew it back on like a pro!