Mending a Tear with Hand Sewing
When faced with a tear in your clothing or fabric, knowing how to repair it with hand sewing can save you time and money. With a few basic sewing techniques and some patience, you can mend tears effectively, extending the life of your garments and preserving your favorite pieces. Here’s a guide on how to repair a tear with hand sewing.
Assessing the Damage
Before you begin the repair process, it’s essential to assess the extent of the tear. Is it a clean tear with edges that align neatly, or are the edges frayed and uneven? Understanding the nature of the tear will help you determine the best approach for repairing it. If the tear is small or located in a less conspicuous area, a simple hand-sewing technique may be all that’s needed. However, for larger or more complex tears, you may need to employ additional methods such as fabric patches or darning.
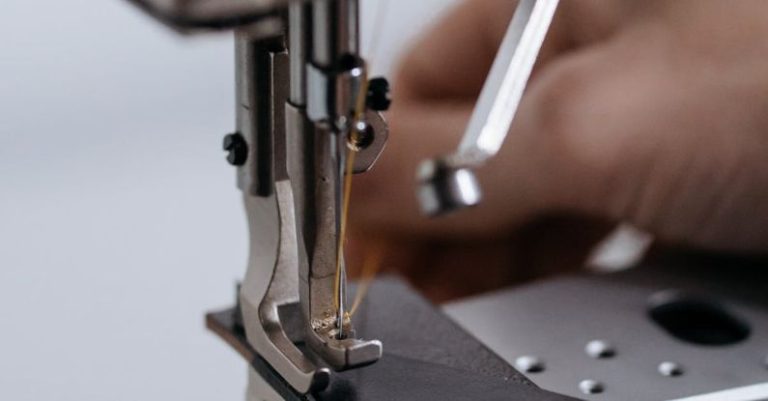
Choosing the Right Tools and Materials
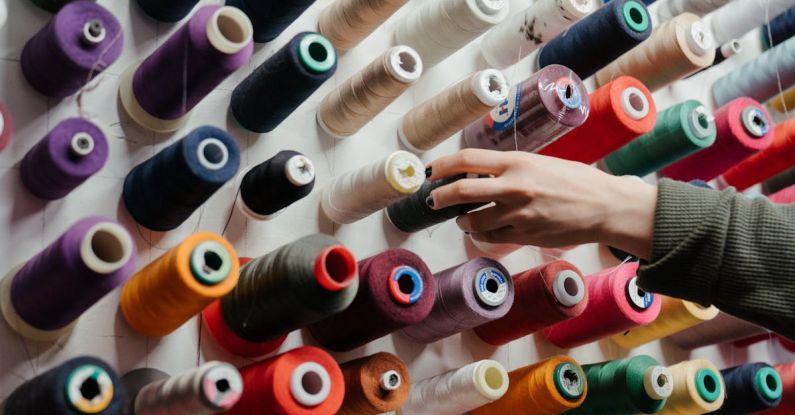
To repair a tear with hand sewing, you’ll need a few essential tools and materials. These include a needle, thread that matches the fabric, scissors, pins, and a thimble to protect your fingers while sewing. Select a needle that is appropriate for the weight of the fabric – finer needles for delicate fabrics and heavier needles for thicker materials. Additionally, choose a thread color that closely matches the fabric to create a seamless repair.
Preparing the Fabric
Before you start sewing, it’s crucial to prepare the fabric to ensure a successful repair. If the tear has frayed edges, trim any loose threads to create a clean edge for sewing. You may also want to press the fabric with an iron to flatten it and make sewing easier. If the tear is in a high-stress area, such as a seam, reinforcing the surrounding fabric with a small patch or interfacing can help prevent further damage.
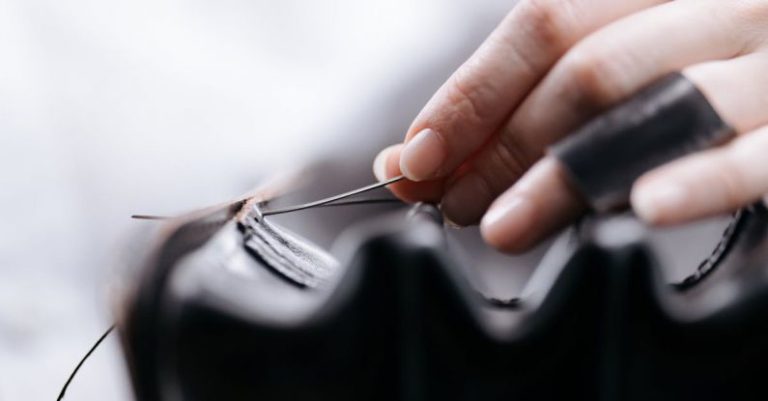
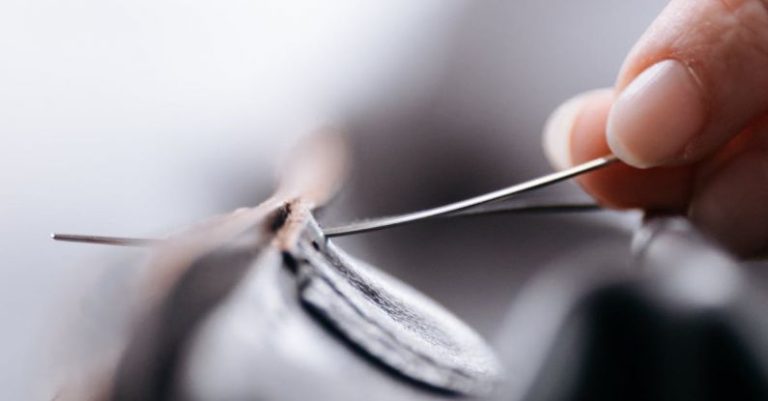
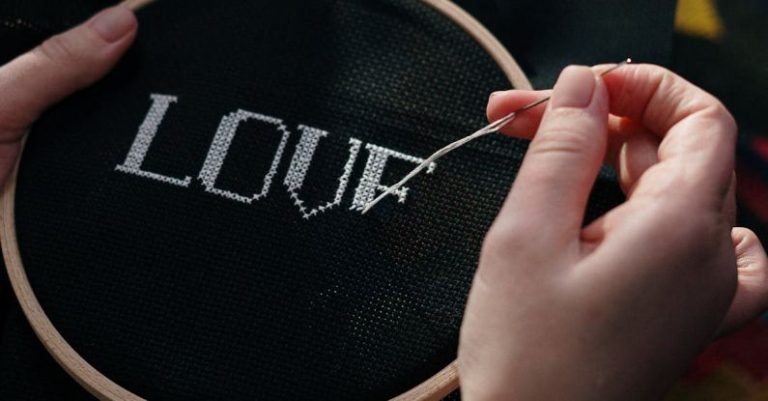
Basic Hand-Sewing Techniques
One of the most common hand-sewing techniques for repairing tears is the running stitch. To execute a running stitch, thread your needle and knot the end of the thread. Begin sewing from the backside of the fabric, bringing the needle up through the fabric and then down in a straight line. Continue stitching in a straight line, evenly spacing your stitches, until you reach the end of the tear. To secure the stitches, make a small knot on the backside of the fabric.
For tears in areas that experience tension or stress, such as knees or elbows on clothing, reinforcing the repair with a patch can provide extra durability. Cut a small piece of fabric that matches the garment and place it on the backside of the tear. Use a whip stitch or ladder stitch to attach the patch to the fabric, creating a strong and invisible mend.
Finishing Touches
Once you have completed the repair, give the fabric a final press with an iron to smooth out any wrinkles and ensure a seamless finish. Trim any excess thread and inspect the repair to ensure it is secure and tidy. With proper care and attention to detail, your hand-sewn repair should blend seamlessly with the original fabric, allowing you to continue enjoying your favorite garments for years to come.
In conclusion, mastering the art of hand sewing can empower you to tackle tears and minor damages in your clothing and fabric items with confidence. By following these simple steps and techniques, you can extend the life of your wardrobe and reduce waste by repairing instead of replacing. So, the next time you encounter a tear, grab your needle and thread and get stitching!