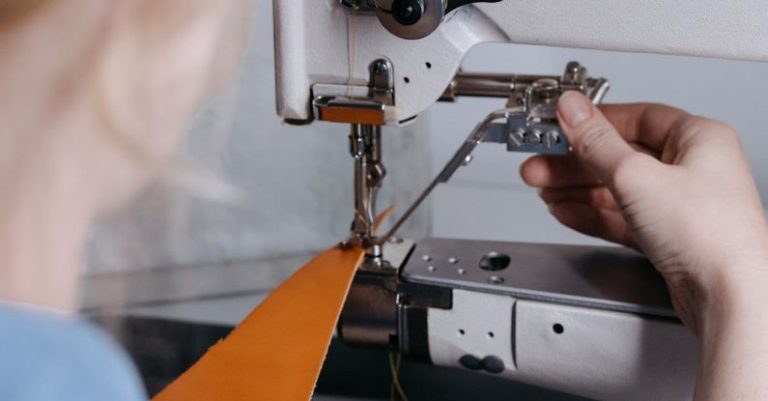
Hand sewing a seam may seem like a daunting task for beginners, but with a few simple techniques and some practice, you can master this essential sewing skill. Whether you are repairing a torn garment or working on a sewing project, knowing how to hand sew a seam is a valuable skill that can come in handy in various situations. In this article, we will guide you through the step-by-step process of hand sewing a seam, from preparing your materials to finishing off your stitches neatly.
**Choosing the Right Needle and Thread**
Before you begin hand sewing a seam, it’s important to select the right needle and thread for the job. For most lightweight to medium-weight fabrics, a sharp needle with a small eye is ideal. The smaller the needle size, the finer the fabric you can sew. When it comes to thread, choose a color that matches your fabric for a seamless finish. Make sure to cut a manageable length of thread to avoid tangles and frustration while sewing.
**Preparing the Fabric**
To prepare the fabric for sewing, align the edges of the fabric pieces you want to join together, ensuring that they are even and match up accurately. You can use pins or fabric clips to hold the fabric in place while sewing. If you are working with delicate fabrics that may snag easily, consider basting the seam first to secure the fabric in place before stitching.
**Starting the Seam**
To start sewing the seam, knot the end of your thread and insert the needle from the wrong side of the fabric to the right side. Leave a small tail of thread at the beginning of the seam to prevent the knot from pulling through the fabric. Secure the thread by stitching a few backstitches or small running stitches at the starting point of the seam.
**Running Stitch**
The running stitch is one of the most basic and commonly used hand stitches for sewing seams. To sew a running stitch, bring the needle up through the fabric and then down in a straight line, keeping your stitches evenly spaced. This stitch is quick and easy to work, making it perfect for joining fabric pieces together efficiently.
**Backstitch**
For a stronger and more secure seam, consider using the backstitch. To sew a backstitch, bring the needle up through the fabric and then back, inserting it into the previous stitch before taking your next stitch forward. This stitch creates a tight and durable seam, making it ideal for areas that undergo stress or tension.
**Finishing the Seam**
Once you have sewn the entire length of the seam, finish off your stitches neatly to secure the seam in place. To do this, sew a few backstitches at the end of the seam and then knot the thread to prevent it from unraveling. You can bury the knot inside the seam allowance or trim the excess thread close to the fabric for a clean finish.
**Tips for Hand Sewing a Seam**
– Practice good tension control to ensure that your stitches are even and secure.
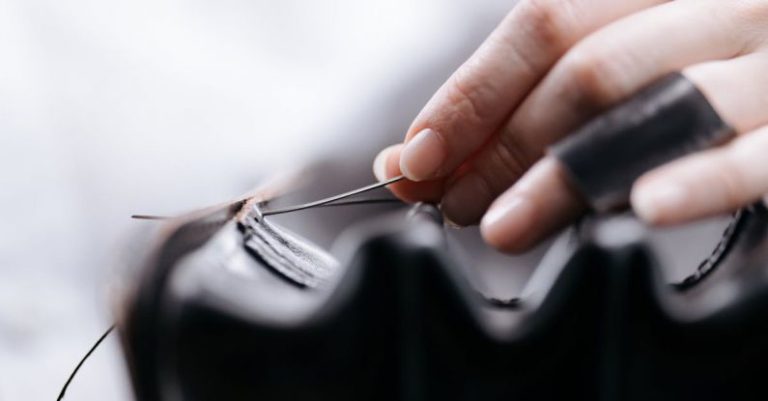
– Use a thimble to protect your fingers and improve your grip while sewing.
– Take breaks and stretch your hands to prevent fatigue and cramping.
– Experiment with different stitch lengths and techniques to find what works best for your project.
**In Summary**
Hand sewing a seam is a valuable skill that every sewing enthusiast should master. By choosing the right needle and thread, preparing the fabric properly, and practicing essential hand stitches like the running stitch and backstitch, you can create strong and professional-looking seams. Remember to finish off your stitches neatly to secure the seam in place and prevent unraveling. With patience and practice, you can perfect the art of hand sewing seams and take your sewing projects to the next level.

