Sewing straight lines with a machine may seem like a simple task, but achieving perfect results can sometimes be tricky. Whether you’re a beginner or a seasoned sewist, mastering the art of sewing straight lines is essential for creating professional-looking projects. In this article, we’ll explore some tips and techniques to help you sew straight lines with ease and precision.
Understanding Your Sewing Machine
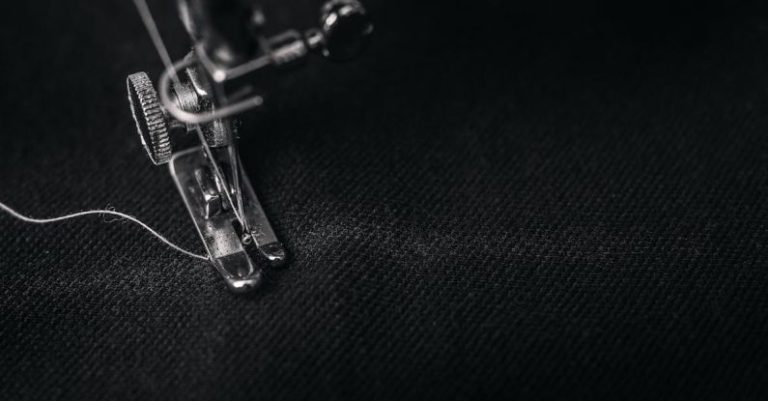
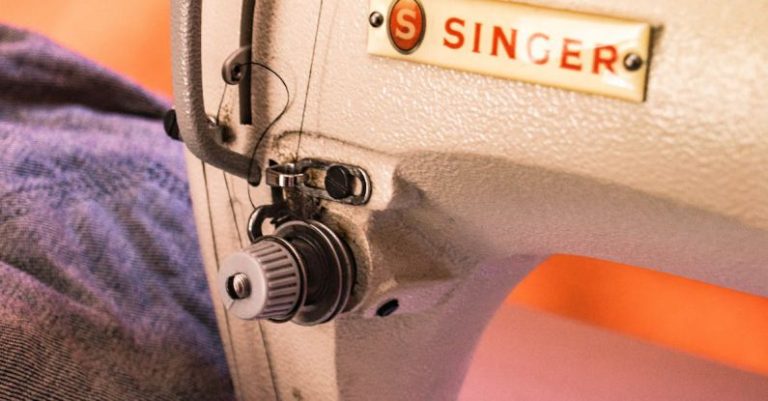
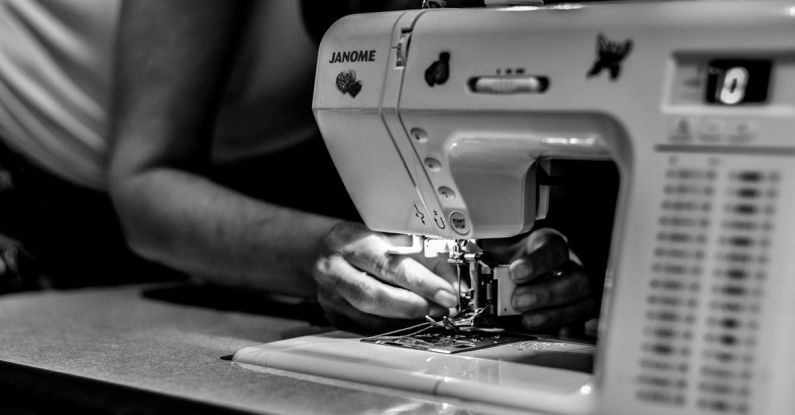
Before diving into the nitty-gritty of sewing straight lines, it’s crucial to have a good understanding of your sewing machine. Familiarize yourself with the different parts of the machine, such as the presser foot, needle, and stitch selector. Make sure your machine is threaded correctly and that you’re using the appropriate needle and thread for the fabric you’re sewing.
Choosing the Right Stitch
Selecting the right stitch for your project is key to sewing straight lines. For most straight-line sewing tasks, a basic straight stitch is sufficient. Adjust the stitch length on your machine to suit the type of fabric you’re working with. A shorter stitch length is ideal for lightweight fabrics, while a longer stitch length works better for heavier fabrics.
Guiding Your Fabric
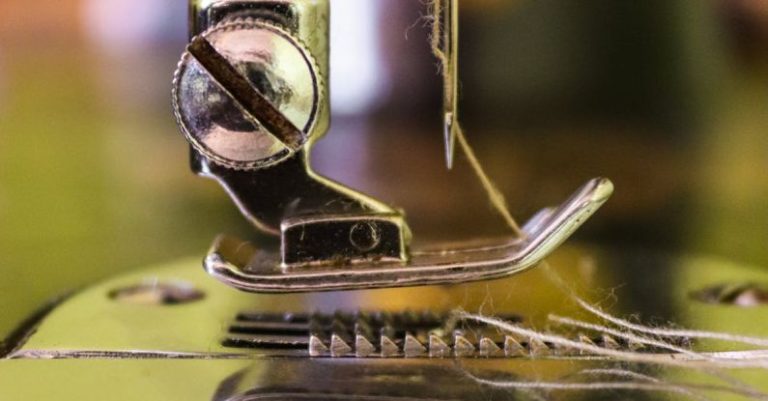
One of the most important factors in sewing straight lines is how you guide your fabric through the machine. Start by aligning the edge of the fabric with the edge of the presser foot. Keep a steady hand and guide the fabric gently as you sew. Avoid pulling or pushing the fabric, as this can result in crooked lines. Let the feed dogs of the machine do the work of moving the fabric forward.
Using Guides and Markings
If you struggle to sew straight lines freehand, consider using guides and markings to help you stay on track. Many sewing machines come with built-in seam guides or markings on the needle plate to assist with straight-line sewing. You can also use masking tape or removable fabric markers to create your own guidelines on the fabric.
Practice Makes Perfect
Like any skill, sewing straight lines takes practice. Don’t get discouraged if your first few attempts aren’t flawless. Take the time to practice on scrap fabric before tackling your main project. Experiment with different techniques and find what works best for you. Over time, you’ll develop the muscle memory and confidence needed to sew straight lines like a pro.
Maintaining Proper Tension
Proper tension is crucial for achieving neat and even stitches when sewing straight lines. Make sure your machine’s tension is set correctly for the type of fabric you’re working with. Too much tension can cause puckering, while too little tension can result in loose stitches. Test your tension on a scrap piece of fabric before starting your project.
Finishing Touches
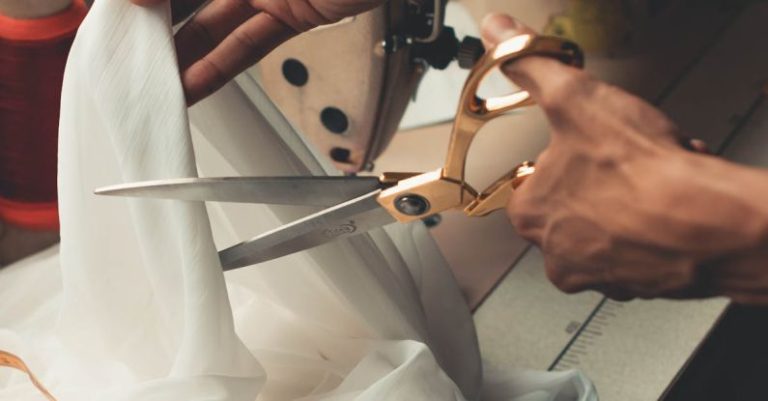
Once you’ve sewn your straight line, it’s essential to finish it off neatly. Backstitch at the beginning and end of your seam to secure the stitches and prevent unraveling. Trim any loose threads with scissors for a clean finish. Pressing the seam with an iron can also help give your project a polished look.
In Summary
Sewing straight lines with a machine is a fundamental skill that every sewist should master. By understanding your sewing machine, choosing the right stitch, guiding your fabric properly, and practicing regularly, you can achieve straight lines with precision and confidence. Remember to use guides and markings as needed, maintain proper tension, and finish off your seams neatly for professional-looking results. With patience and practice, you’ll be sewing straight lines like a pro in no time.