When it comes to sewing, knowing how to sew in reverse on a sewing machine can be a valuable skill that can make your projects look more polished and professional. Sewing in reverse allows you to reinforce seams, secure stitching at the beginning and end of a seam, and prevent unraveling. In this article, we will explore the ins and outs of sewing in reverse on a sewing machine and provide you with the necessary steps to master this technique effortlessly.
Understanding the Reverse Stitch Function
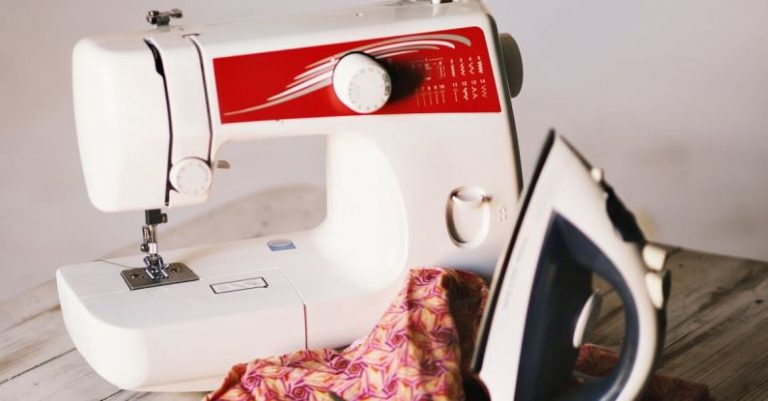
Before diving into the process of sewing in reverse, it’s essential to understand the reverse stitch function on your sewing machine. Most modern sewing machines come equipped with a reverse stitch button or lever that allows you to sew in reverse effortlessly. When engaged, the machine will sew in the opposite direction, creating a secure backstitch that locks the beginning and end of a seam in place.
Activating the Reverse Stitch Function
To sew in reverse on a sewing machine, you first need to locate the reverse stitch button or lever on your machine. Once you have identified the reverse stitch control, simply press or slide it to engage the reverse stitching mode. When activated, the machine will sew in reverse, reinforcing the stitches and securing the seam.
Practicing Sewing in Reverse
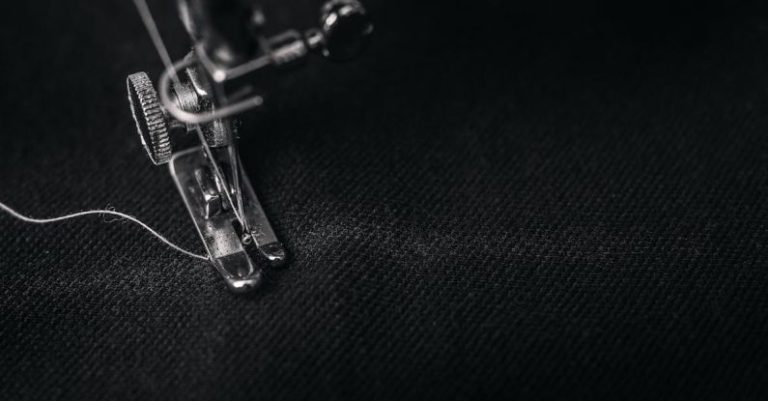
To master sewing in reverse, it’s essential to practice the technique on a scrap piece of fabric before applying it to your actual sewing projects. Start by sewing a straight line forward, then press the reverse stitch button or lever to sew back over the same line in reverse. This action will create a secure backstitch that prevents the seam from unraveling.
Enhancing Stitching Durability
Sewing in reverse not only reinforces the beginning and end of a seam but also enhances the overall durability of your stitches. By sewing back over a seam in reverse, you create a double-stitched area that is less likely to come undone over time. This technique is particularly useful when sewing items that will undergo frequent wear and tear, such as garments or home decor items.
Securing Seam Ends
One of the primary benefits of sewing in reverse is its ability to secure the ends of a seam effectively. By backstitching at the beginning and end of a seam, you prevent the stitches from unraveling and ensure that your sewing projects remain intact. This extra step can make a significant difference in the longevity and quality of your finished creations.
Preventing Puckering
When sewing in reverse, it’s essential to maintain a consistent sewing speed to prevent puckering or bunching of the fabric. Sewing too quickly or too slowly can lead to uneven stitches and distortions in the fabric. By practicing sewing in reverse at a steady pace, you can achieve smooth and professional-looking seams without any puckering.
Experimenting with Stitch Length
Another aspect to consider when sewing in reverse is the stitch length. Depending on the fabric and the project you are working on, you may need to adjust the stitch length to achieve the desired results. Experiment with different stitch lengths when sewing in reverse to find the optimal setting for your specific needs.
Mastering the Art of Backstitching
Sewing in reverse is a fundamental skill that every sewist should master to achieve clean and durable seams. By understanding the reverse stitch function on your sewing machine, practicing the technique, and experimenting with stitch length, you can elevate the quality of your sewing projects and ensure that your stitches stand the test of time. So, next time you sit down at your sewing machine, don’t forget to sew in reverse and take your sewing skills to the next level.
