Sewing machines are versatile tools that allow you to create beautiful garments and projects. One important aspect of using a sewing machine effectively is understanding how to adjust the tension. Proper tension ensures that your stitches are even and secure, resulting in a professional-looking finish to your sewing projects. In this article, we will explore the steps you need to take to adjust the tension on your sewing machine.
Understanding Sewing Machine Tension
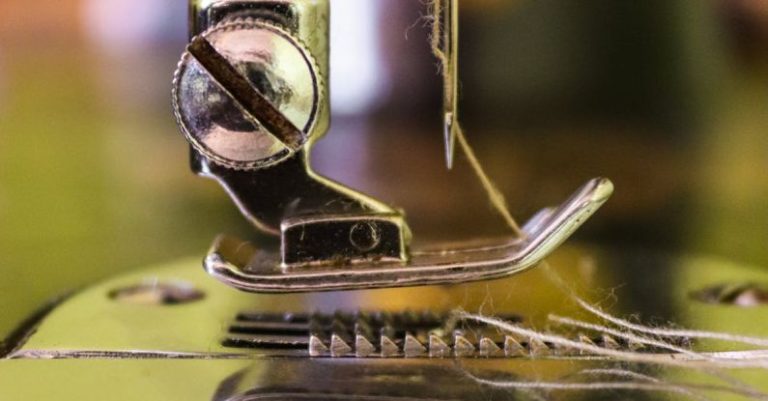
Before we delve into how to adjust the tension on a sewing machine, it is essential to understand what tension actually is. Sewing machine tension refers to the balance between the upper thread (the thread coming from the spool) and the lower thread (the thread coming from the bobbin). When the tension is set correctly, the stitches will interlock in the middle of the fabric, creating a neat and secure seam. If the tension is too tight, the stitches may pucker the fabric, while too loose tension can result in loopy stitches or thread bunching.
Testing the Tension
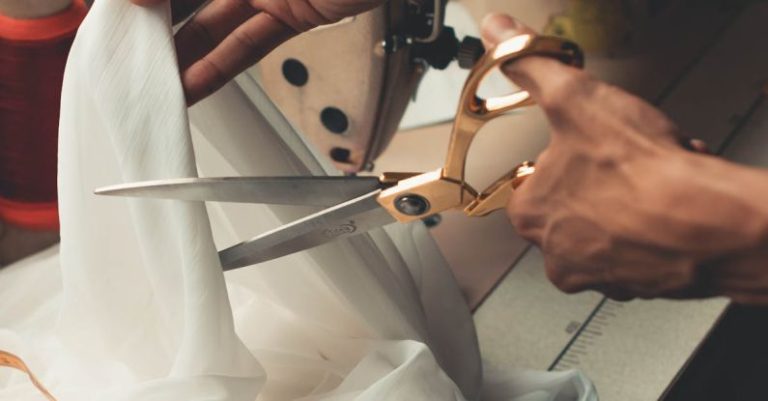
To determine if your sewing machine’s tension needs adjusting, start by sewing a test swatch on a scrap piece of fabric using the same thread and fabric you plan to use for your project. Examine the stitches on both sides of the fabric. Ideally, the upper thread should not be visible on the underside of the fabric, and the bobbin thread should not show on the top side. If you notice any irregularities, it may be time to adjust the tension.
Adjusting the Tension
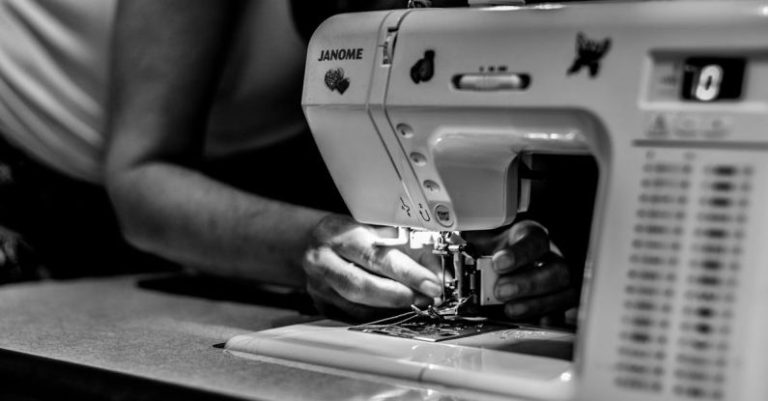
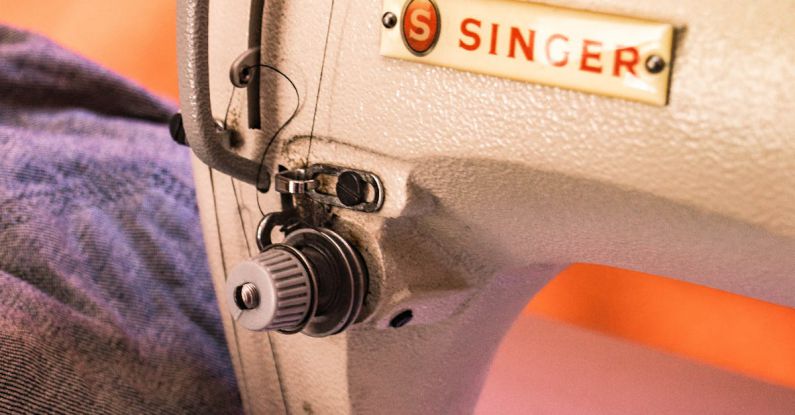
Most modern sewing machines have two tension dials: one for the upper thread and one for the bobbin thread. Here is how you can adjust the tension on your sewing machine:
Upper Thread Tension:
1. Start by setting the tension dial on your machine to the standard setting (usually around 4 or 5).
2. Sew a test seam on your fabric.
3. If the upper thread is too loose (bobbin thread showing on the top side), increase the tension by turning the dial to a higher number.
4. If the upper thread is too tight (visible on the underside of the fabric), decrease the tension by turning the dial to a lower number.
5. Continue adjusting the tension and sewing test seams until you achieve the desired stitch quality.
Bobbin Thread Tension:
1. If you are still experiencing tension issues after adjusting the upper thread tension, you may need to adjust the bobbin thread tension.
2. Refer to your sewing machine manual to locate the bobbin tension screw.
3. Use a small screwdriver to turn the screw clockwise to increase tension or counterclockwise to decrease tension.
4. Sew another test seam to check if the tension is now balanced.
Fine-Tuning the Tension
Sometimes, achieving the perfect tension may require fine-tuning adjustments. Here are some additional tips to help you get the best results:
– Use high-quality thread that is suitable for your fabric.
– Ensure that the machine is threaded correctly.
– Clean the machine regularly to prevent lint buildup that can affect tension.
– If you are still having trouble with tension, consider consulting a professional sewing machine technician for assistance.
In conclusion,
Adjusting the tension on your sewing machine is a crucial skill that can greatly impact the quality of your sewing projects. By understanding how tension works and following the steps outlined in this article, you can ensure that your stitches are even, secure, and professional-looking. Experiment with different settings, practice on scrap fabric, and don’t be afraid to make adjustments until you achieve the perfect tension for your specific project. With practice and patience, you’ll master the art of sewing machine tension adjustment in no time.