Sewing buttons by hand can be a fiddly task, but did you know that you can also sew buttons using a machine? This method can save you time and effort while ensuring a secure attachment for your buttons. If you’re curious about how to sew a button with a machine, read on to discover the simple steps to achieve this handy sewing technique.
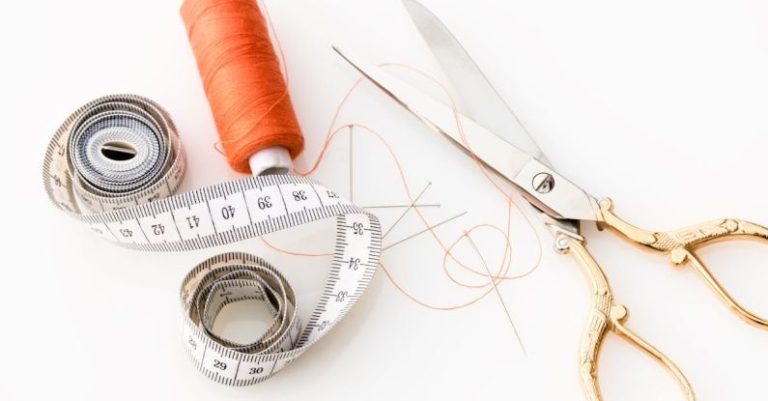
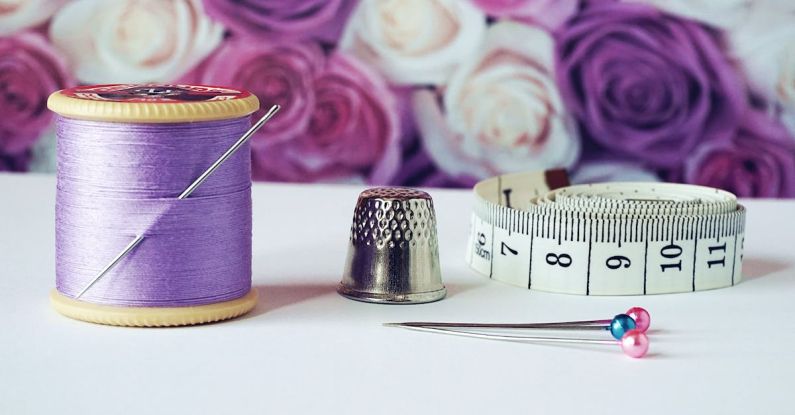
Selecting the Right Button and Thread
Before you begin sewing a button with a machine, it’s essential to choose the right button and thread for the job. Opt for a button that is suitable for machine sewing, such as flat buttons with two or four holes. Ensure the button is compatible with your machine’s size and needle.
Next, select a thread that matches the color of your fabric and button. It’s crucial to use a strong thread that can withstand the tension of machine sewing. A polyester or cotton thread is typically recommended for sewing buttons with a machine.
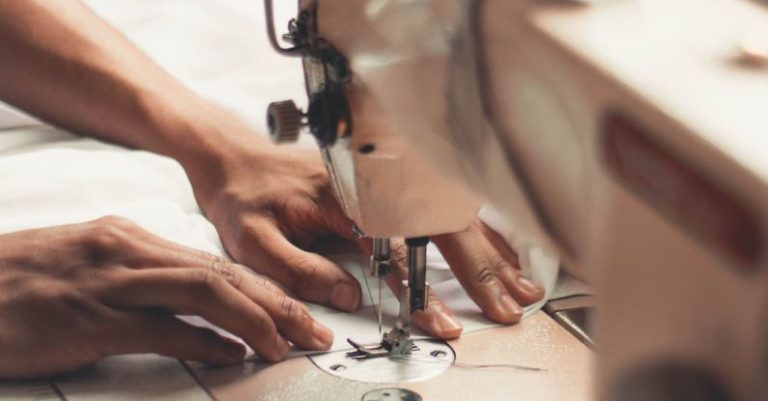
Setting Up Your Sewing Machine
To sew a button with a machine, you’ll need to adjust your sewing machine settings accordingly. Start by attaching the button-sewing foot to your machine. This specialized foot is designed to hold the button in place while the machine sews.
Once you’ve attached the button-sewing foot, set your machine to a zigzag stitch. Adjust the stitch width and length to accommodate the size of your button and the desired spacing between stitches. Test the stitch on a scrap piece of fabric to ensure it is the right size before sewing on your garment.
Securing the Button in Place
Before you begin sewing, position the button on the fabric where you want it to be attached. Place a pin through the button’s holes to hold it in place during sewing. This will prevent the button from shifting or moving while the machine sews.
Once the button is secured in place, lower the button-sewing foot over the button. The foot should hold the button in position and align it with the needle for accurate stitching. Double-check the button’s placement to ensure it is centered and aligned correctly.
Sewing the Button
With the button in place and the machine set up, you’re ready to start sewing. Begin by slowly turning the handwheel on your machine to lower the needle into the left hole of the button. This will ensure that the first stitch starts in the correct position.
Once the needle is in place, press the foot pedal to start the machine. The zigzag stitch will move from side to side, securing the button in place with each pass. Continue sewing until the button is securely attached with several layers of stitches.
Finishing Touches
After sewing the button, raise the needle and trim the thread with scissors. Remove the pin holding the button in place and inspect the stitching to ensure it is secure. Test the button by gently pulling on it to confirm that it is firmly attached to the fabric.
If you’re sewing multiple buttons, repeat the process for each button, adjusting the machine settings as needed. Once all the buttons are sewn, give your garment a final press to smooth out any wrinkles and set the stitches in place.
In conclusion, sewing buttons with a machine is a quick and efficient way to attach buttons to your garments. By following these simple steps and using the right tools and techniques, you can achieve professional-looking results with ease. So, next time you need to sew on a button, consider using your sewing machine for a fast and secure attachment.