Creating a Bound Seam: A Detailed Guide
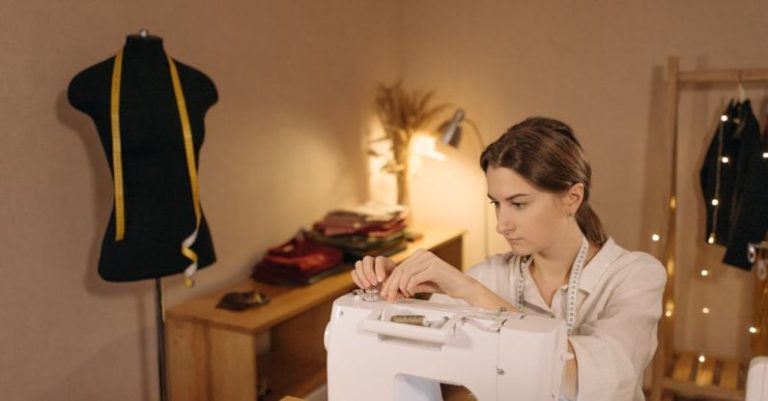
Sewing is a versatile craft that allows for a myriad of techniques to be explored and mastered. One such technique that adds durability and a professional finish to garments and projects is the bound seam. A bound seam is a method of enclosing raw edges within a fabric binding, providing a clean and polished look. In this article, we will delve into the steps required to make a bound seam, ensuring your sewing projects stand out for their quality and attention to detail.
Selecting the Right Materials
Before diving into the process of creating a bound seam, it is essential to gather the necessary materials. You will need your fabric pieces that require seaming, a fabric binding or bias tape that complements your fabric, scissors, pins, and a sewing machine. Ensure that the fabric binding is cut on the bias to allow for flexibility around curves and corners.
Preparing the Fabric Edges
To begin creating a bound seam, first, prepare the edges of the fabric pieces that you intend to seam together. Trim the seam allowance to reduce bulk and ensure a smooth finish. Next, align the raw edges of the fabric pieces, ensuring they are even and secure them in place with pins.
Attaching the Fabric Binding
The next step in creating a bound seam is attaching the fabric binding to the raw edges of the fabric pieces. Place the fabric binding along the edge of the fabric, with the right sides together. The binding should encase the raw edges entirely, ensuring a clean finish once sewn. Pin the binding in place along the edge of the fabric, ensuring it is secure and aligned.
Sewing the Bound Seam
With the fabric binding pinned in place, it is time to sew the bound seam. Using a straight stitch on your sewing machine, sew along the edge of the fabric binding, attaching it to the fabric pieces. Ensure that your stitches are even and secure, as they will not only provide a clean finish but also add strength to the seam. Take your time as you sew, pivoting at corners and curves to maintain a neat and professional look.
Finishing the Bound Seam
Once the fabric binding is securely attached to the fabric pieces, the final step in creating a bound seam is finishing the seam allowance. Trim any excess fabric binding and seam allowance, being careful not to cut through the stitches. Press the bound seam with an iron to set the stitches and ensure a crisp finish.
Experimenting with Variations
While the basic steps outlined above provide a foundation for creating a bound seam, there are various ways to customize and enhance this technique. Consider using contrasting fabric binding for a pop of color or adding decorative stitching along the bound seam for a unique touch. Explore different widths of fabric binding to achieve varying effects and experiment with different seam finishes to suit your project’s aesthetic.
Embracing the Bound Seam Technique
In conclusion, mastering the art of creating a bound seam can elevate your sewing projects to a new level of sophistication and quality. By following the steps outlined above and experimenting with variations, you can harness the versatility of this technique to achieve professional-looking seams with a polished finish. So, next time you embark on a sewing project, consider incorporating a bound seam to showcase your attention to detail and craftsmanship.