Achieving a professional-looking seam finish is crucial in the world of sewing. Not only does it add durability to your garment, but it also enhances the overall appearance. One technique that can elevate your sewing game is the pinking seam finish. By using pinking shears, you can create a zigzag edge that not only prevents fraying but also adds a decorative touch to your project. In this article, we will delve into the various techniques for achieving a pinking seam finish that will take your sewing skills to the next level.
Choosing the Right Tools
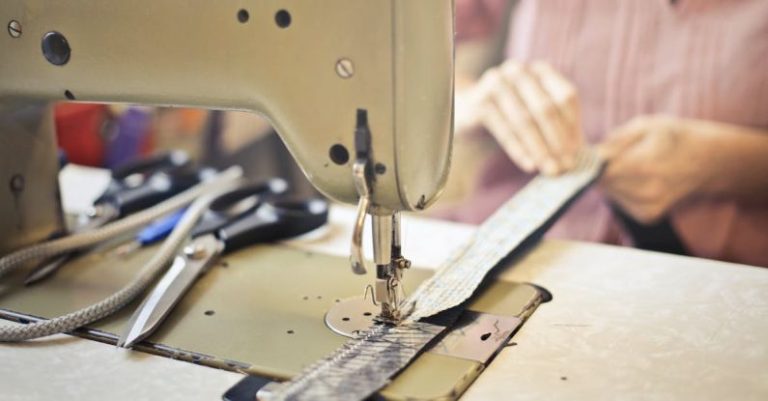
Before diving into the techniques for pinking seam finishes, it’s essential to have the right tools at your disposal. Pinking shears are specialized scissors with serrated blades that create a zigzag edge when cutting fabric. It’s crucial to invest in a high-quality pair of pinking shears to ensure clean and precise cuts. Additionally, having a clear ruler and fabric marking tool will help you achieve straight and accurate lines when preparing your seams for pinking.
Technique 1: Pinking the Raw Edge
The most common technique for achieving a pinking seam finish is to pink the raw edge of the fabric before sewing the seam. Start by aligning the raw edges of the fabric pieces that you want to join. Using your pinking shears, carefully trim along the raw edge, creating a zigzag pattern. Make sure to cut evenly and smoothly to prevent any jagged edges. Once you have pinked both edges, proceed with sewing your seam as usual. This technique is ideal for lightweight fabrics and is a quick and effective way to prevent fraying.
Technique 2: Pinking the Seam Allowance
Another technique for a pinking seam finish is to pink the seam allowance after sewing the seam. This method is especially useful for thicker fabrics where trimming the raw edge may not be sufficient to prevent fraying. After sewing your seam with a straight stitch, press the seam open to flatten it. Then, using your pinking shears, trim along the seam allowance, creating a zigzag edge. Be careful not to cut into the stitching line to avoid compromising the strength of the seam. Pinking the seam allowance not only prevents fraying but also reduces bulk in the seam, making it ideal for garments with multiple layers of fabric.
Technique 3: Pinking Along Curved Seams
Working with curved seams can be challenging when it comes to achieving a clean finish with pinking shears. To tackle this, start by clipping notches along the seam allowance to allow the fabric to curve smoothly. Then, use your pinking shears to trim along the curved seam allowance, following the natural curve of the fabric. Take your time and make small, precise cuts to ensure an even zigzag edge. Pinking along curved seams requires patience and practice, but the end result is well worth the effort, providing a neat and professional finish to your project.
Experimenting with Decorative Pinking
While pinking seam finishes are primarily used for preventing fraying, they can also be a fun way to add a decorative element to your sewing projects. Try experimenting with different fabrics and colors to create unique pinking details on hems, cuffs, and seams. Mixing and matching different fabrics can result in striking contrast and visual interest in your garments. Don’t be afraid to think outside the box and incorporate decorative pinking into your sewing repertoire to elevate your creations.
Incorporating Pinking Seam Finishes Into Your Sewing Repertoire
By mastering the techniques for achieving a pinking seam finish, you can enhance the quality and aesthetics of your sewing projects. Whether you’re working with lightweight fabrics or tackling thicker materials, pinking shears offer a versatile and practical solution for preventing fraying and adding a decorative touch to your seams. Experiment with different techniques and applications to discover how pinking seam finishes can elevate your sewing repertoire and take your creations to the next level.