Unraveling the Mystery of Seam Rippers
When it comes to sewing, precision is key. However, even the most skilled seamstress or tailor may find themselves in need of undoing stitches at some point. This is where a seam ripper becomes an indispensable tool. Seam rippers are designed to make the task of ripping out unwanted stitches easier and more efficient. In this article, we will explore how you can use a seam ripper effectively to achieve clean and professional results in your sewing projects.
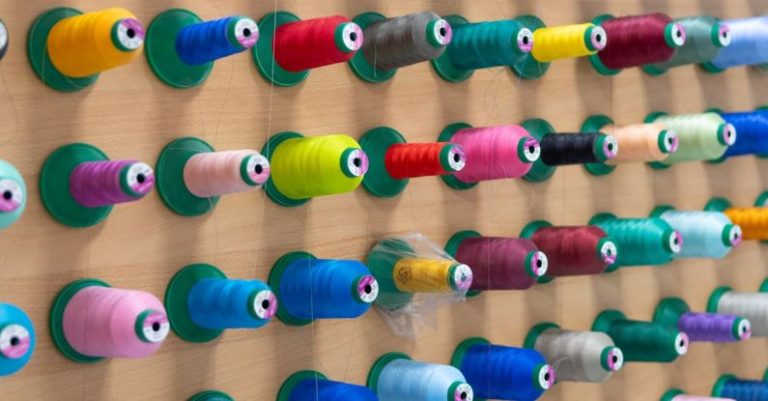
Choosing the Right Seam Ripper
Before diving into the specifics of how to use a seam ripper effectively, it is important to ensure that you have the right tool for the job. Seam rippers come in various shapes and sizes, so it is essential to choose one that feels comfortable in your hand and suits the type of fabric you are working with. Look for a seam ripper with a sharp, fine tip that can easily slide under stitches without damaging the fabric.
Preparing Your Work Area
Before you begin using a seam ripper, it is important to prepare your work area. Lay your fabric flat on a clean, well-lit surface, ensuring that there are no wrinkles or creases that could impede your progress. It may also be helpful to secure the fabric in place with pins or clips to prevent it from shifting while you work.
Removing Stitches with Precision
To use a seam ripper effectively, start by gently sliding the tip of the tool under the stitches you wish to remove. Be sure to only pick out a few stitches at a time to avoid accidentally cutting or tearing the fabric. Once the tip is securely under the stitch, carefully push the seam ripper forward to cut the thread. Repeat this process until all the unwanted stitches have been removed.
Dealing with Stubborn Stitches
In some cases, stitches may be more stubborn and difficult to remove. If you encounter resistance while using the seam ripper, try gently pulling the fabric in the opposite direction to create tension on the thread. This can help loosen the stitches and make them easier to cut. Be patient and avoid applying too much force, as this could result in damage to the fabric.
Finishing Touches
After you have successfully removed the unwanted stitches, take a moment to inspect the fabric for any remaining bits of thread or loose fibers. Use the tip of the seam ripper or a pair of tweezers to carefully remove any lingering debris. Once your fabric is clean and free of stray threads, you can proceed with resewing the seam or making any necessary adjustments to your project.
Mastering the Art of Seam Ripping
Seam rippers may seem like simple tools, but mastering the art of using them effectively can greatly enhance the quality of your sewing projects. By choosing the right seam ripper, preparing your work area, removing stitches with precision, and dealing with stubborn stitches, you can achieve professional results and maintain the integrity of your fabric. Remember to approach seam ripping with patience and care, and soon you will be able to undo stitches with ease and confidence.
In Conclusion: A Stitch in Time Saves Nine
In the world of sewing, a seam ripper is a valuable ally that can help you correct mistakes and achieve flawless results. By following the tips outlined in this article and practicing your seam ripping skills, you can become a master of this essential tool. Remember, a stitch in time saves nine – so don’t be afraid to embrace the seam ripper as a key part of your sewing arsenal. With patience, practice, and a keen eye for detail, you can use a seam ripper effectively to elevate your sewing projects to new heights of precision and professionalism.