Fabric markers are versatile tools that allow you to unleash your creativity on various textiles. Whether you are a seasoned crafter or a beginner looking to personalize your clothing or home decor, mastering the art of using fabric markers correctly can elevate your projects to a professional level. From customizing t-shirts to adding intricate designs to pillowcases, fabric markers offer endless possibilities for expressing your unique style. In this guide, we will explore the best practices for using fabric markers effectively to achieve vibrant, long-lasting results.
Choosing the Right Fabric Marker
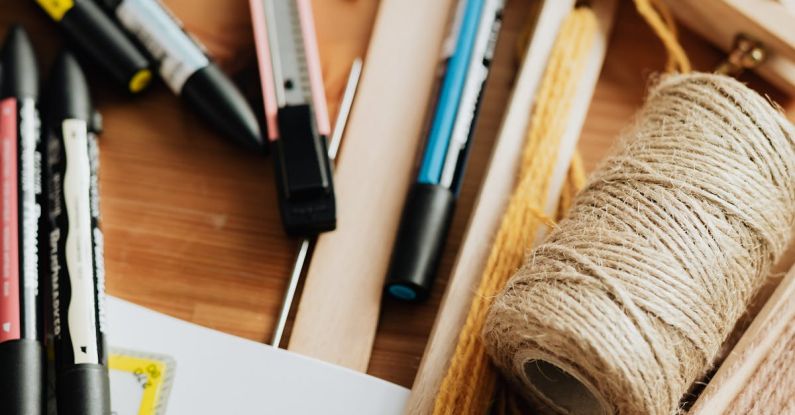
Before diving into your project, it is crucial to select the right fabric marker for the job. Fabric markers come in various types, including water-based, oil-based, and pigment-based markers. Water-based fabric markers are ideal for lighter fabrics and offer easy cleanup with water and soap. Oil-based markers, on the other hand, are suitable for darker fabrics and provide a more permanent finish. Pigment-based markers offer intense colors and are fade-resistant, making them perfect for projects that require long-lasting vibrancy. Consider the type of fabric you will be working with and the desired outcome when choosing a fabric marker.
Preparing Your Fabric
To ensure the best results with your fabric marker, it is essential to prepare your fabric properly before starting your project. Begin by washing and drying the fabric to remove any dirt, oils, or sizing that may interfere with the marker’s adhesion. If you are working with a new fabric, consider pre-washing it to prevent shrinkage after applying the markers. Ironing the fabric beforehand can also help create a smooth surface for your designs and prevent the markers from bleeding.
Testing Your Fabric Marker
Before committing to your design, it is a good practice to test the fabric marker on a small, inconspicuous area of the fabric. This test will help you determine how the color appears on the fabric and whether the marker bleeds or spreads. Additionally, testing the marker’s washability will give you an idea of how the design will hold up after laundering. By conducting a simple test, you can make any necessary adjustments to your technique or choice of marker before applying it to the entire project.
Applying the Fabric Marker
When applying the fabric marker to your project, work in a well-lit area with ample ventilation to ensure precision and prevent inhaling fumes from oil-based markers. Shake the marker well before use to mix the pigments and ensure a consistent color application. Hold the fabric taut to prevent any wrinkles or creases that may affect the marker’s flow. Use light, even strokes to apply the marker to the fabric, allowing the ink to saturate the fibers without oversaturating the fabric. Avoid pressing too hard, as this can cause the marker tip to fray and create uneven lines.
Layering and Blending Colors
To add depth and dimension to your designs, consider layering and blending colors with fabric markers. Start by applying the lightest color first and allowing it to dry before adding additional colors on top. Layering colors can create shading effects and enhance the vibrancy of your designs. To blend colors seamlessly, work quickly and use a blending pen or a damp brush to soften the edges where the colors meet. Experiment with different color combinations and techniques to achieve unique and striking results.
Setting the Design
Once you have completed your design with fabric markers, it is essential to set the ink to ensure its longevity and washability. Follow the manufacturer’s instructions for setting the fabric marker, which may involve heat setting with an iron or placing the fabric in a dryer. Heat setting helps the ink bond with the fabric fibers, preventing it from fading or washing out over time. Allow the fabric to cool completely before handling or laundering to avoid smudging the design.
Maintaining Your Fabric Marker
To prolong the life of your fabric marker and ensure consistent performance, proper maintenance is key. Always cap the marker tightly after use to prevent the ink from drying out or leaking. Store the markers horizontally to keep the ink flow steady and prevent air bubbles from forming in the tip. If the marker tip becomes clogged with dried ink, gently clean it with a damp cloth or paper towel to restore its functionality. Regularly checking and cleaning your fabric markers will help you achieve crisp lines and vibrant colors in your projects.
Incorporating Fabric Markers into Your Projects
Now that you have mastered the art of using fabric markers correctly, the possibilities are endless for incorporating them into your projects. From customizing clothing and accessories to adding embellishments to home decor items, fabric markers offer a fun and easy way to express your creativity. Experiment with different techniques, such as stenciling, freehand drawing, and stamping, to create one-of-a-kind designs that reflect your personal style. With practice and a little imagination, fabric markers can transform ordinary textiles into works of art that you can proudly display or gift to others.
Embracing the Art of Fabric Markers
Using fabric markers correctly opens up a world of creative possibilities for expressing yourself through textiles. By selecting the right markers, preparing your fabric, testing your designs, and applying the ink with precision, you can achieve professional-looking results that stand the test of time. Whether you are a seasoned crafter or a beginner exploring the world of fabric art, mastering the techniques of fabric markers will enhance your projects and inspire you to continue pushing the boundaries of your creativity. So grab your markers, unleash your imagination, and let your designs come to life on fabric with confidence and flair.